 Home
Home  Sign in / Sign up
 Get in touch
 Plans
Plans Walkthroughs
 Insights
 Free Tools
 Get a free sample
Walkthroughs
Learn how to use LitContent with our guided walkthroughs.
Creating Your First Application
A guided walkthrough to set up your new application from start to finish.
Creating Your First AI-Generated Post
A step-by-step guide to generating a new blog post using the AI content generator.
Managing and Editing Posts
Learn how to view, edit, and manage your existing AI-generated posts.
Generating New Website Pages
A guide to creating new website pages using AI, from selecting an application to configuring generation parameters.
Importing Existing Website Pages
Learn how to import content from an existing website page into your application.

Managing and Editing Website Pages
A comprehensive guide to viewing, editing, and managing your website pages.
Inviting and Managing Your Team
A comprehensive guide to adding new members to your team, managing their status, and handling their access.
Accepting Team Invitations
Learn how to accept an invitation to join an existing team.
Understanding Team Subscriptions and Application Access
Learn how your subscription covers your team and how to manage team member access to applications.
General AI Editor
Explore the powerful features of the AI editor to enhance and create content.
Navigating the Dashboard
Get familiar with the dashboard and learn how to navigate the application.
Managing Notification Preferences
Learn how to configure your notification preferences for each application.
Managing Your Applications
Learn how to view, edit, and manage your applications.
Exporting Your Application Posts and Pages
Learn how to export application content.

Optimizing Your Content for SEO
Learn how to use the SEO tool to generate meta descriptions, keywords, and URL slugs.
Repurposing Your Content for Social Media
Learn how to turn your blog posts and pages into content for different social media platforms.
Permissions & Subscriptions
- Team Roles: At the moment, only the team owner can create new applications, pages, and posts. Users with an "Editor" role can edit existing posts, but not pages.
- Your Own Subscription: Even if you're part of someone else's team, you can always purchase your own subscription. This will allow you to create your own applications and content.
- Usage: If you have your own subscription but are working on content for a different team, any usage will be deducted from the team owner's plan, not your own.
What's Next?
This walkthrough shows some of our key features, but there's more to explore! We're constantly adding new functionality and updating this guide.
Text walkthroughs
Creating Your First Application
A guided walkthrough to set up your new application from start to finish.
- If you have no applications when you log in, you will be prompted to create one.
- Provide a unique name for your application.
- Enter your website URL and add sitemaps for better content generation. Whilst this step is optional, it's highly recommended for us to generate the highest quality content for you
- After entering your website URL. One you click 'Find sitemaps', any sitemap files that were automatically found will appear in the section below
- If you click on any of the found sitemaps, you should be able to see a list of all usable URL's that we found for that sitemap.
- Add any additional information or specific instructions for content generation.
- Configure how often you want content to be generated and the number of posts every time we generate for you. When your notification preferences are enabled for a specific application, this will also be the number of created email posts that you'll receive from us automatically.
- Invite team members and set their roles and permissions for this application. For more details on team management, see the 'Inviting and Managing Your Team' walkthrough.
- Provide your WordPress application credentials to enable direct publishing and test the connection to make sure we'll be able to upload successfully.
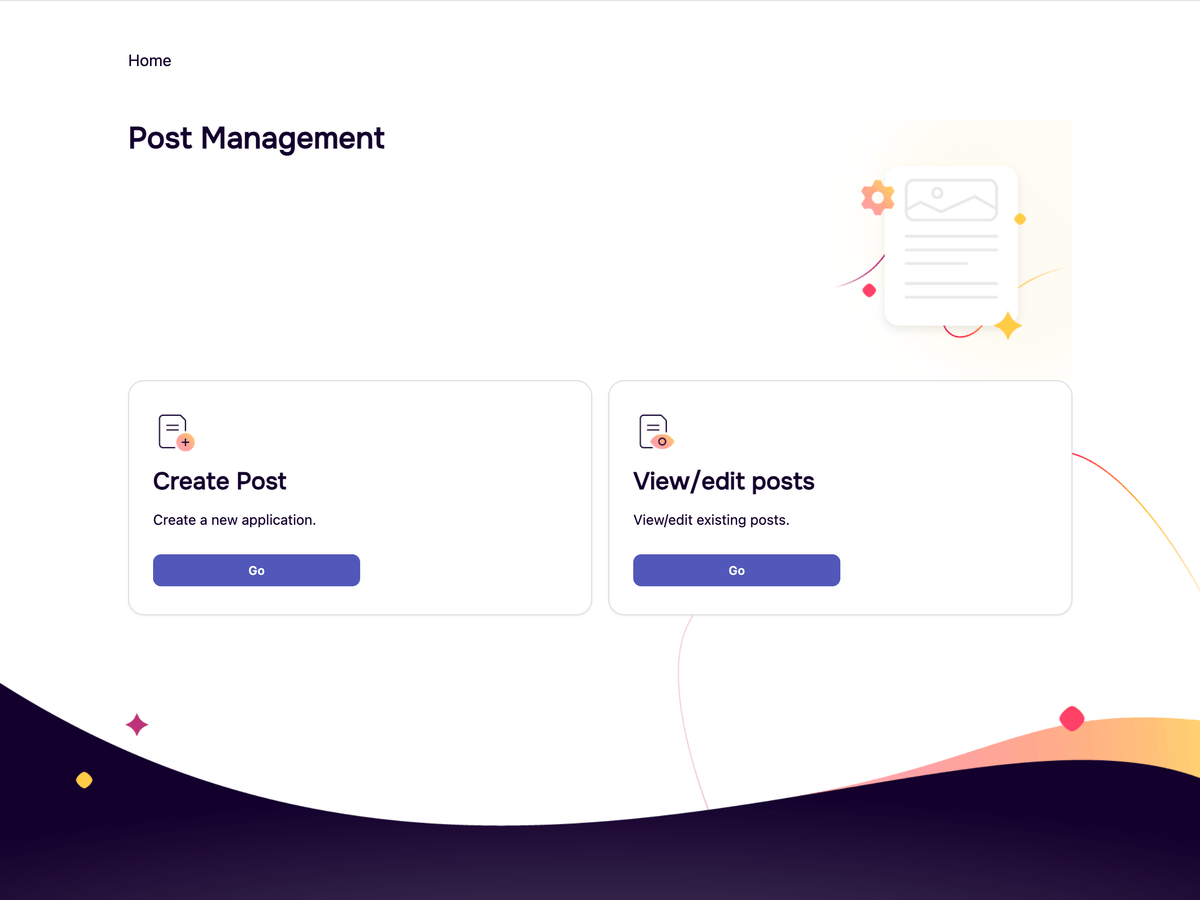
Creating Your First AI-Generated Post
A step-by-step guide to generating a new blog post using the AI content generator.
- Navigate to the 'Posts' section and click 'Create Post'.
- Select which application you're generating the post for. If you don't select one, we'll assign your default application. in the topic, keywords, and other details for the article.
- Either select how many new suggestions we should create for you, or manually fill in the topic, keywords, and other details for the post.
- Either choose one of the suggested new post titles, or generate based on your prompt by clicking the 'Let's do it' button
- Refine and have fun with our post editor once you're redirected to your new post!
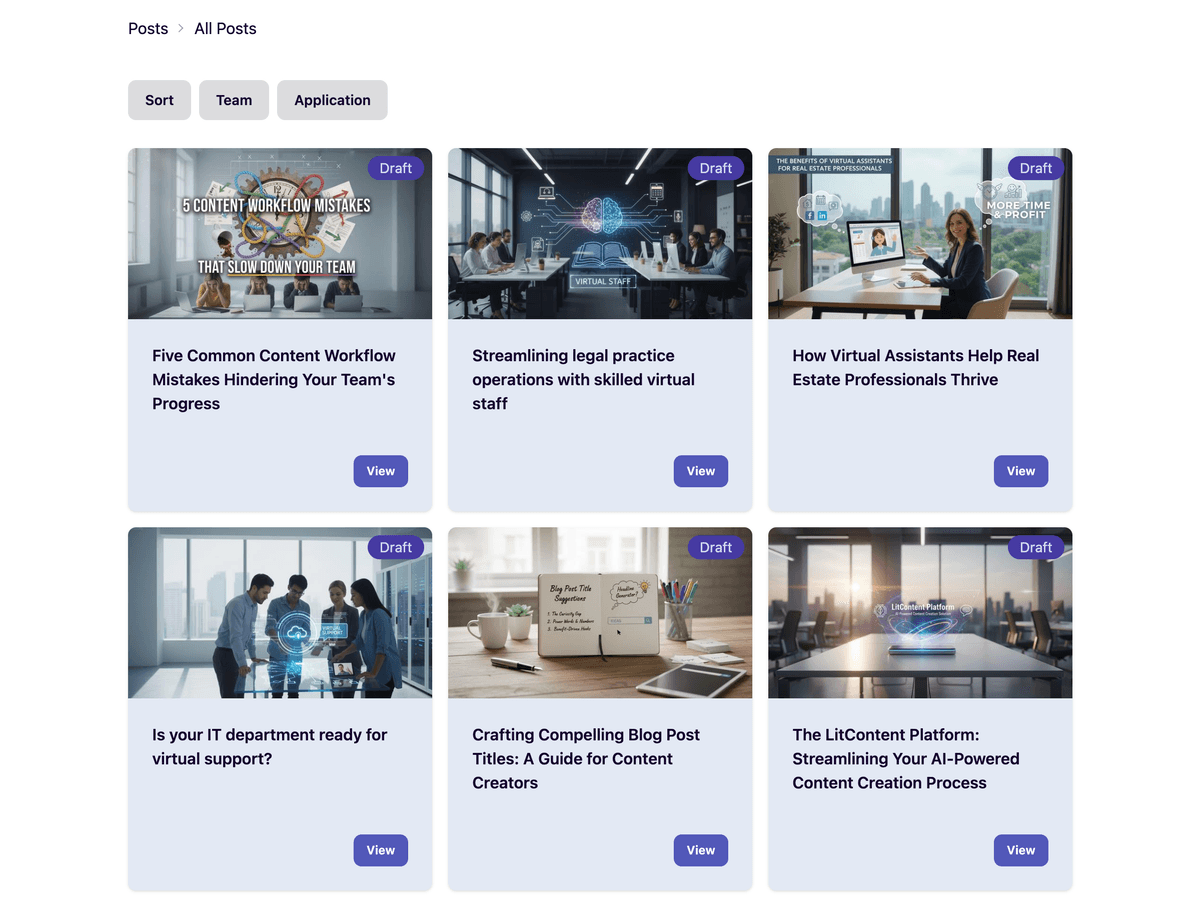
Managing and Editing Posts
Learn how to view, edit, and manage your existing AI-generated posts.
- Navigate to 'Posts' and click 'View/edit posts'.
- Use filters (sort, team, application) to find specific posts.
- Open a post to view its details and access the editor.
- Edit post content, manage it's status, and add notes and explore our suite of AI tools.
- View and revert to previous revisions.
- View highlighted revisions differences.
- View team member revisions.
- Add notes on a team member revision.
- View received notes.
- View sent notes.
- Export post content in various formats (PDF, PDF with it's featured image, TXT).
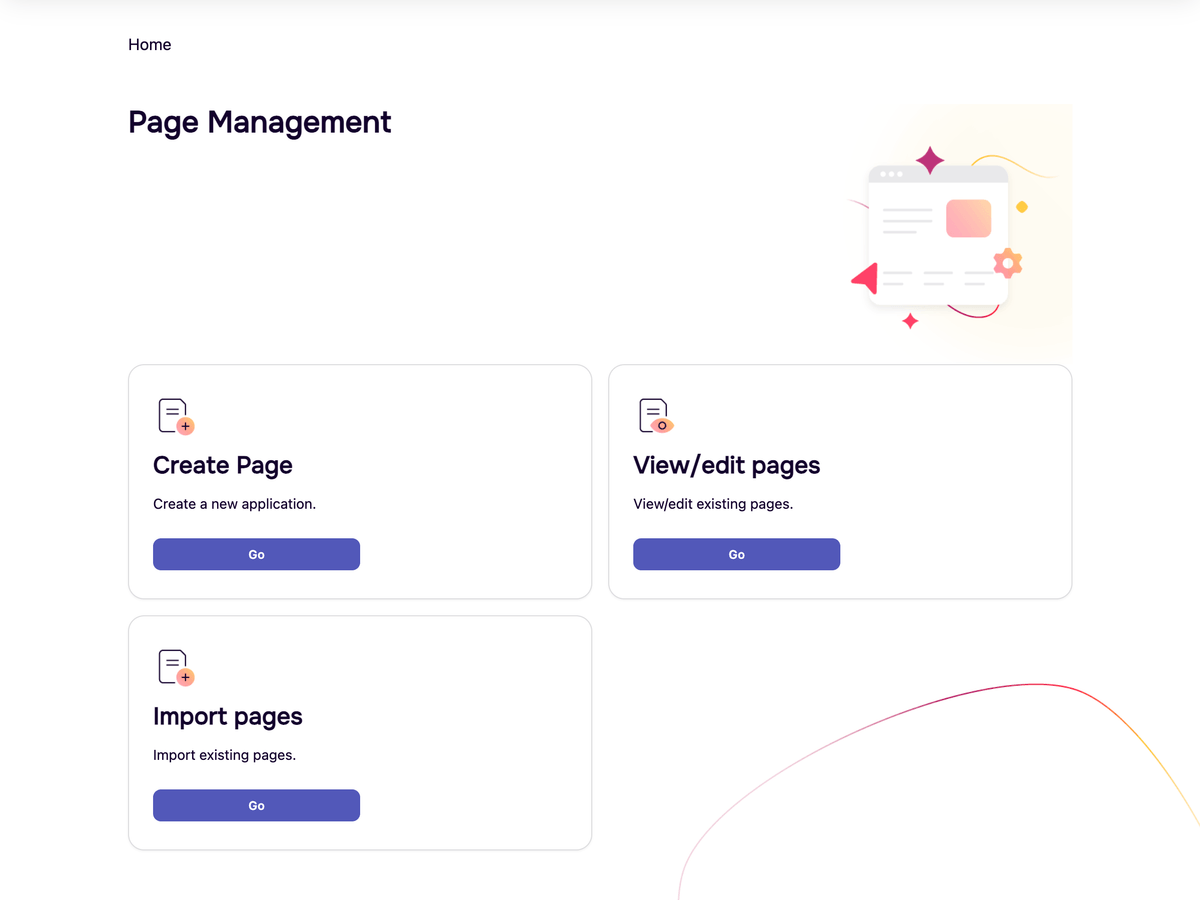
Generating New Website Pages
A guide to creating new website pages using AI, from selecting an application to configuring generation parameters.
- Navigate to the 'Pages' section and click 'Generate Pages'.
- Select the application for which you want to generate pages.
- Define the desired text style (e.g., 'Soft, Friendly') and provide any additional information.
- Initiate the page generation process.
- View and edit the newly generated pages.
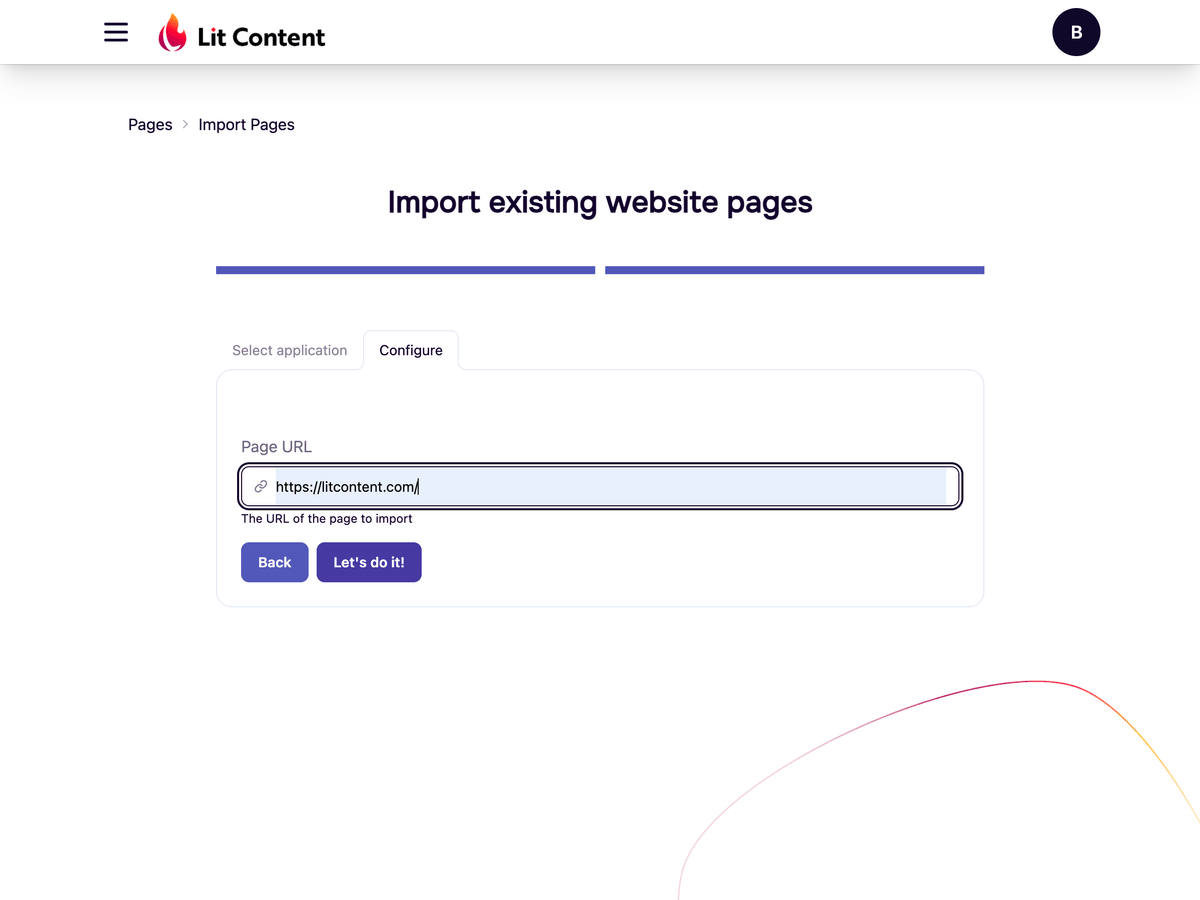
Importing Existing Website Pages
Learn how to import content from an existing website page into your application.
- Navigate to the 'Pages' section and click 'Import Pages'.
- Provide the URL of the existing page you wish to import.
- Once some pages are generated, you should be directed to the page list with your created and imported pages.
- Select and edit your imported page.
- Use our AI tools and general editing features.
Managing and Editing Website Pages
A comprehensive guide to viewing, editing, and managing your website pages.
- Navigate to the 'Pages' section and select 'View Pages'.
- Select a and edit pages from the list to open it in the editor.
- Edit page content, save changes, view revisions and more.
- Delete pages by clicking on the trashcan icon from the page listing.
Inviting and Managing Your Team
A comprehensive guide to adding new members to your team, managing their status, and handling their access.
- Navigate to 'Settings' and then 'Team'.
- Enter a new team member's email address and send an invitation. This is also where you can control actions such as resending invites or viewing team member invite status.
- Deactivate, reactivate, or remove team members.
- To grant access to a team member for an application, please read our walkthrough on 'Understanding Team Subscriptions and Application Access'
Accepting Team Invitations
Learn how to accept an invitation to join an existing team.
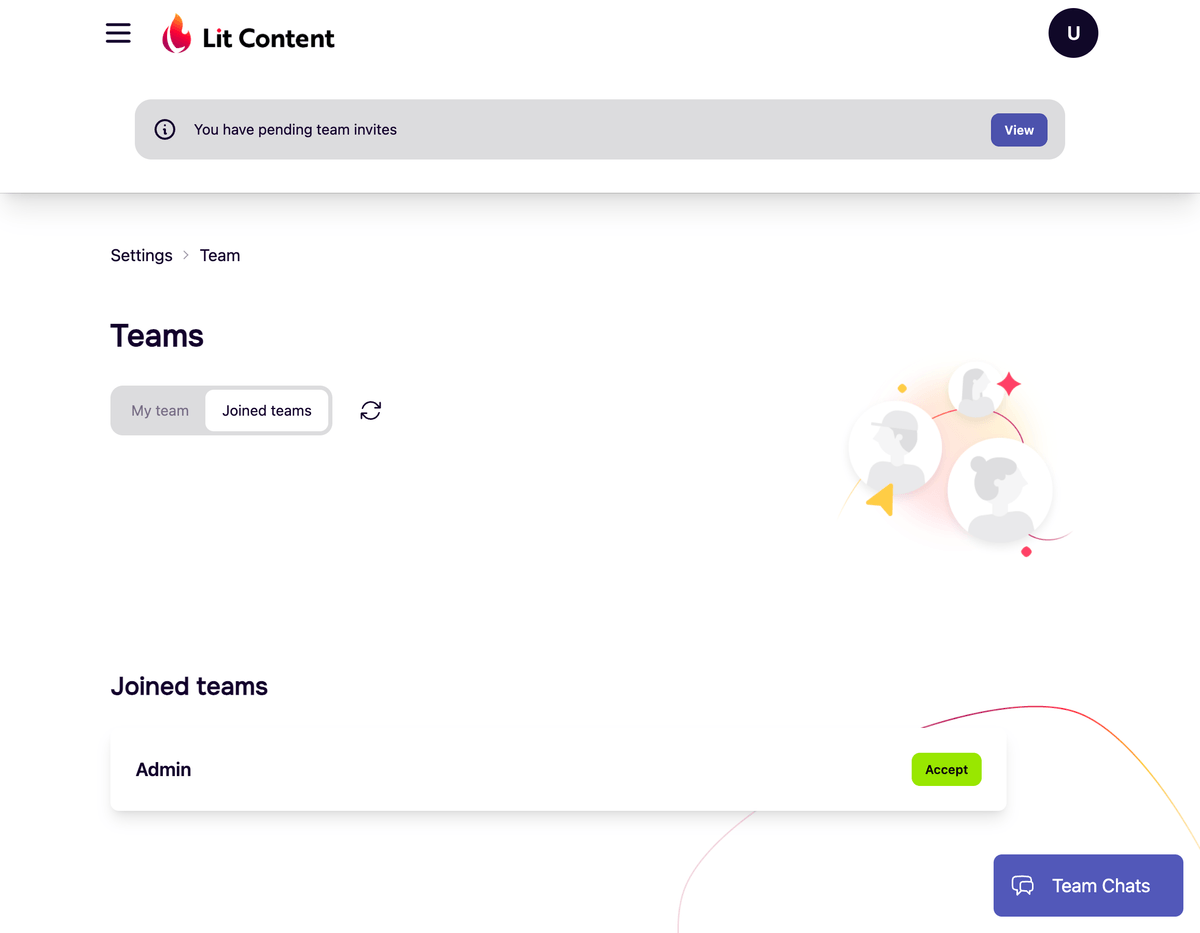
- If you've been invited to a team, you should receive an invitation acceptance link via email. You can also accept an invite once you're already signed in. A signed in user with pending invitations should see a notice at the top of the page. You can also directly accept an invitation through this notice.
- If you're accepting a team invitation through an email link, you'll need to be signed in for it to accept on your behalf.
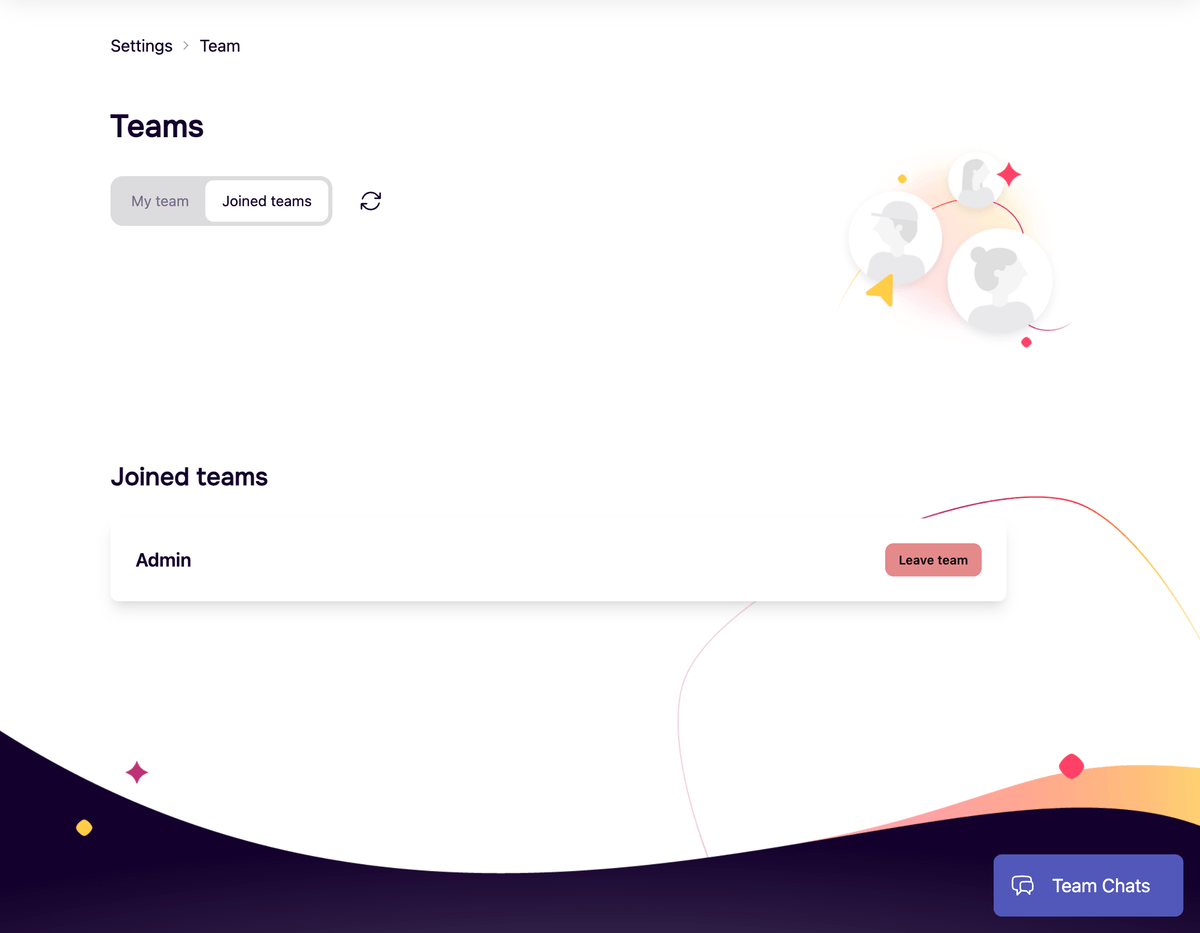
- Navigate to 'Settings' and then 'Team', and click on 'Joined teams' to see which teams you're a part of.
- You can also view pending invitations and accept them from the 'Joined teams' tab.
Understanding Team Subscriptions and Application Access
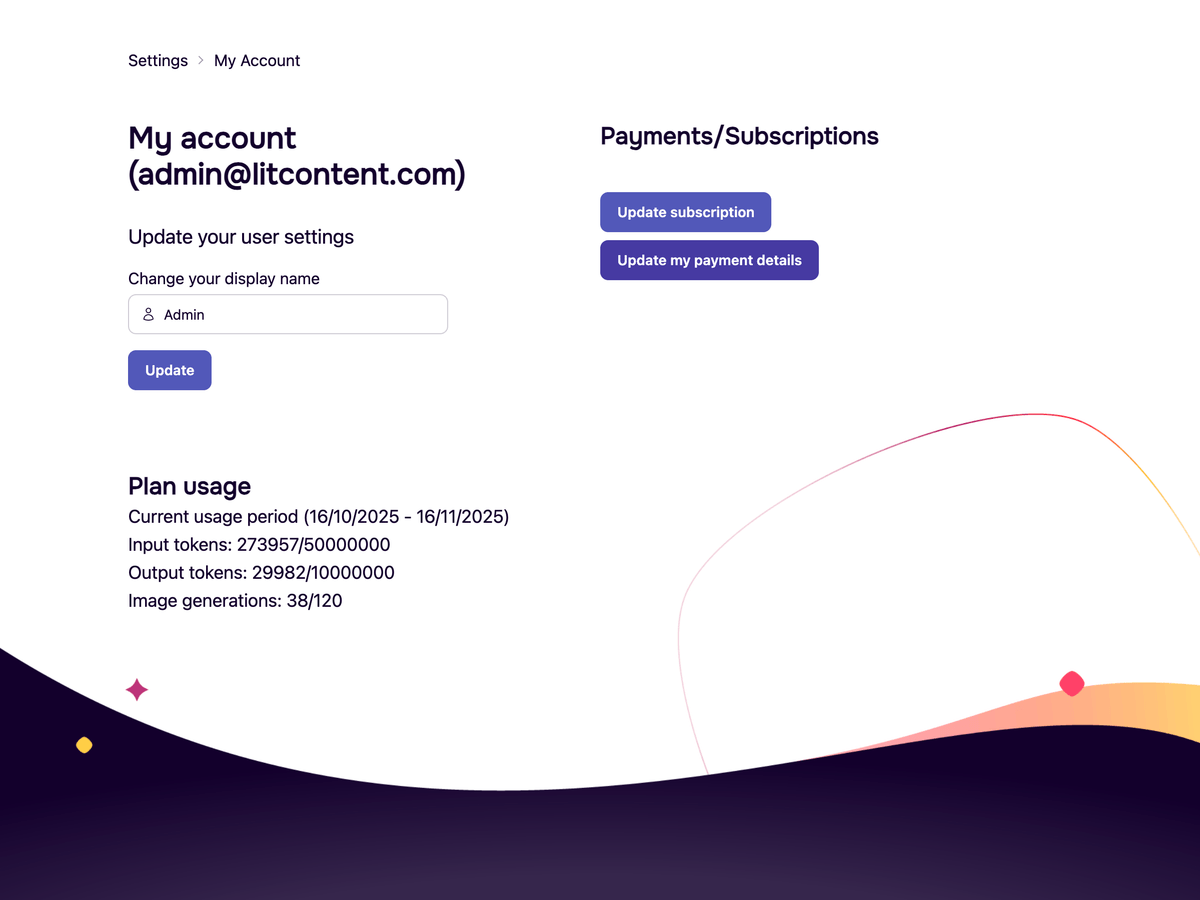
Learn how your subscription covers your team and how to manage team member access to applications.
- To view subscription usage, go to the My Account page.
- Understand that the team owner's subscription covers all team members usage (This is for members who have been added to an application in it's settings as an editor).
- Invite team members via the 'Settings > Team' page (see 'Inviting and Managing Your Team' walkthrough). Note that inviting a team member does not automatically grant them access to applications. (See next step)
- Assign team members with roles and permissions to your applications during application creation or by editing an existing application.
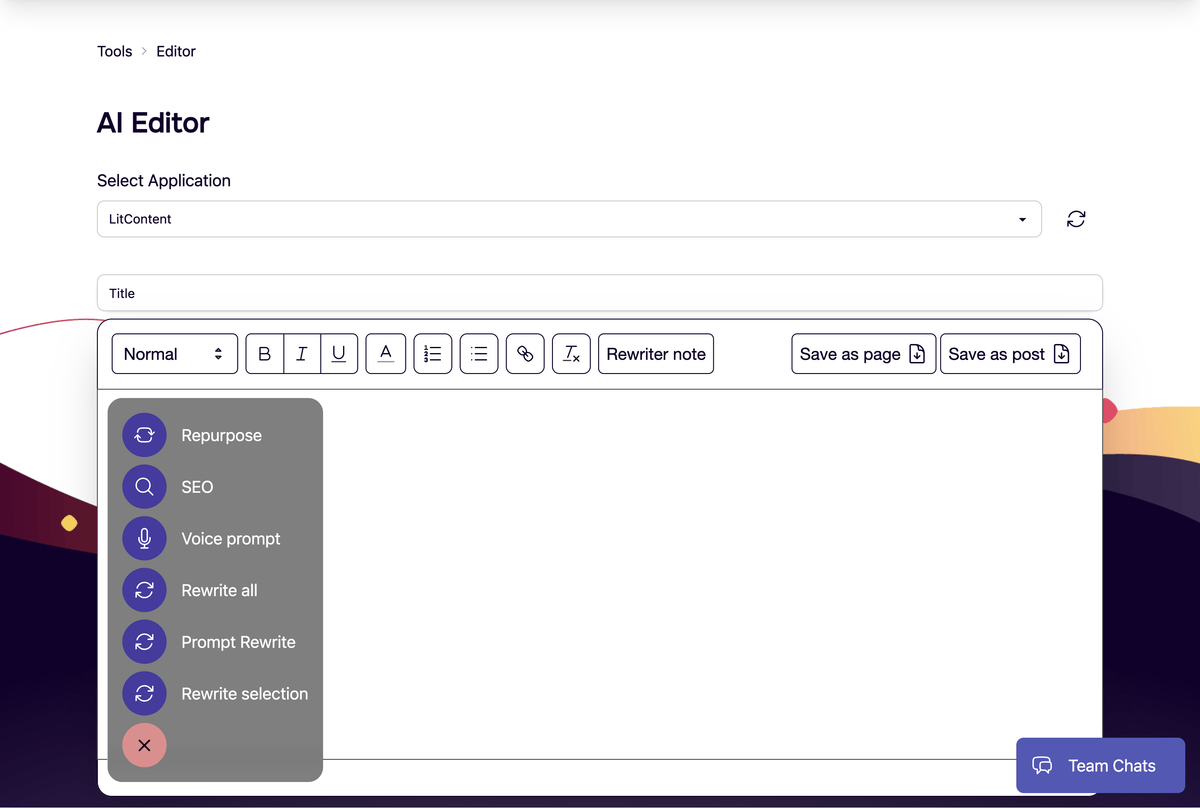
General AI Editor
Explore the powerful features of the AI editor to enhance and create content.
- To access the general AI Editor, navigate to it from 'Settings' and then 'AI Editor'.
- Use the AI editor to sketch new ideas, or create posts and pages content from scratch or with the help of our AI features. The general AI editor works like our post and page editor, and contains many of same AI features.
- Before you can save the editor content as a page or a post, a title is required. The editor automatically creates a title from the first H1 (Header 1) found.
- If no H1 is found, the first sentence is used as the title.
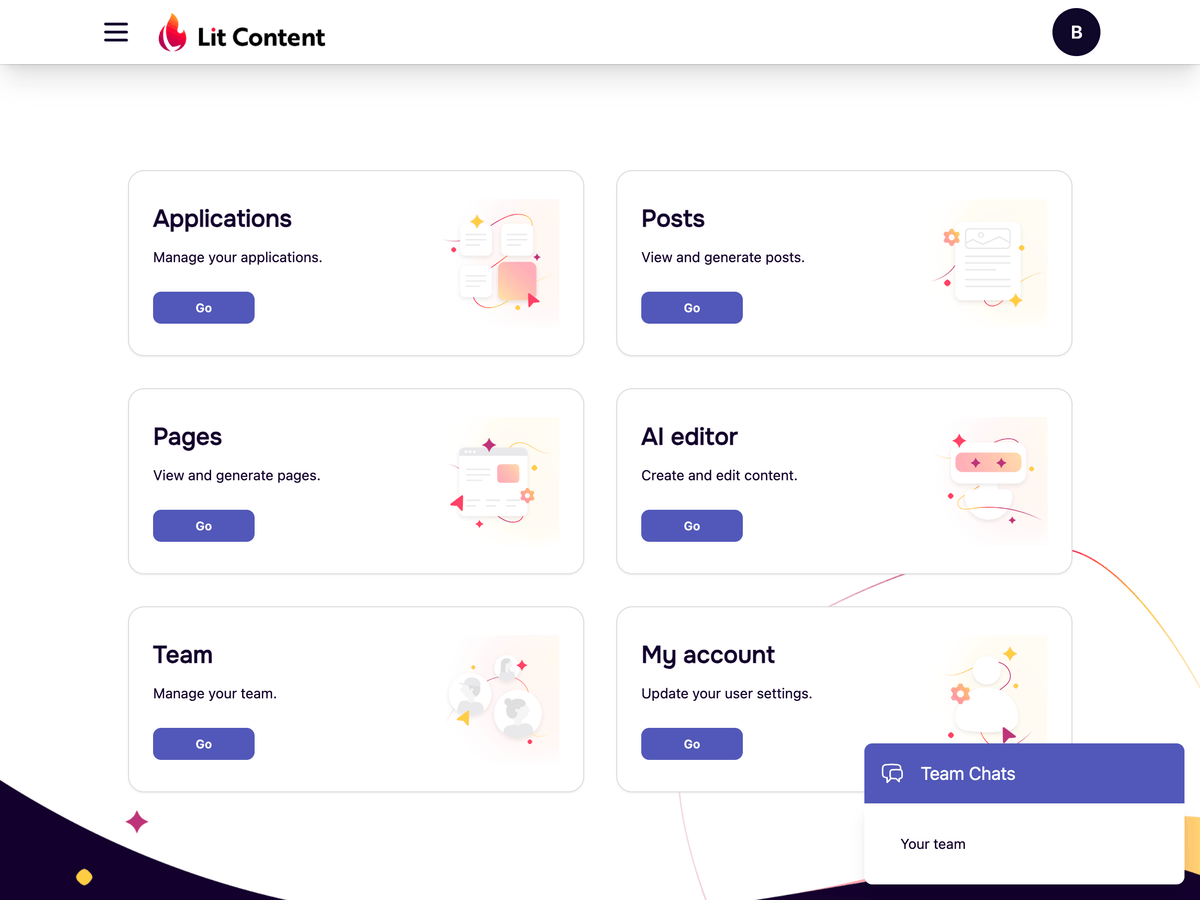
Navigating the Dashboard
Get familiar with the dashboard and learn how to navigate the application.
- Your dashboard gives you a quick overview of your applications and content.
- Use the left-side navigation to access different sections of the application.
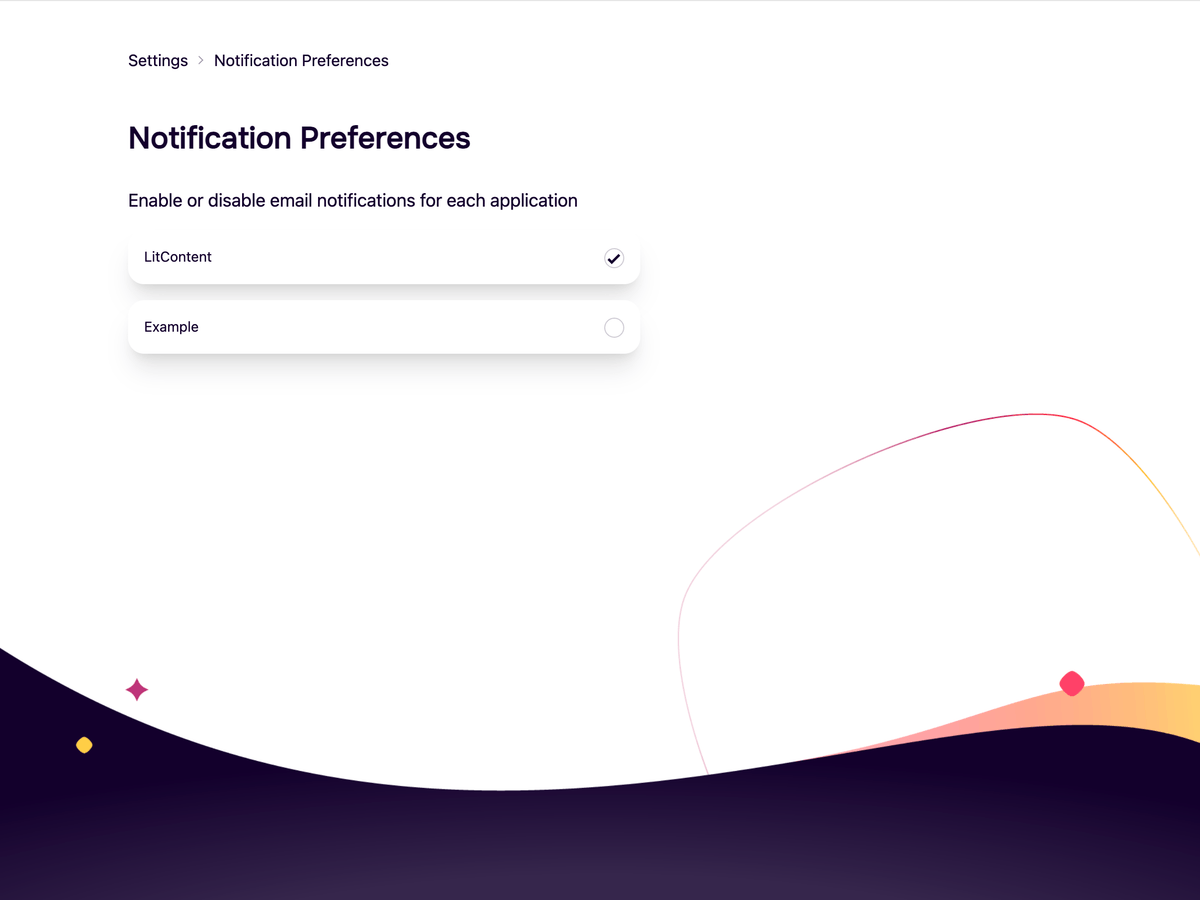
Managing Notification Preferences
Learn how to configure your notification preferences for each application.
- From the applications dashboard, click on 'Notifications.'
- Manage your notification preferences for each application.When an application is unchecked, it mean's that you will not receive an email when new posts are automatically generated according to the application generation schedule. This is on a per user basis, and can be different for each member of an application's team.
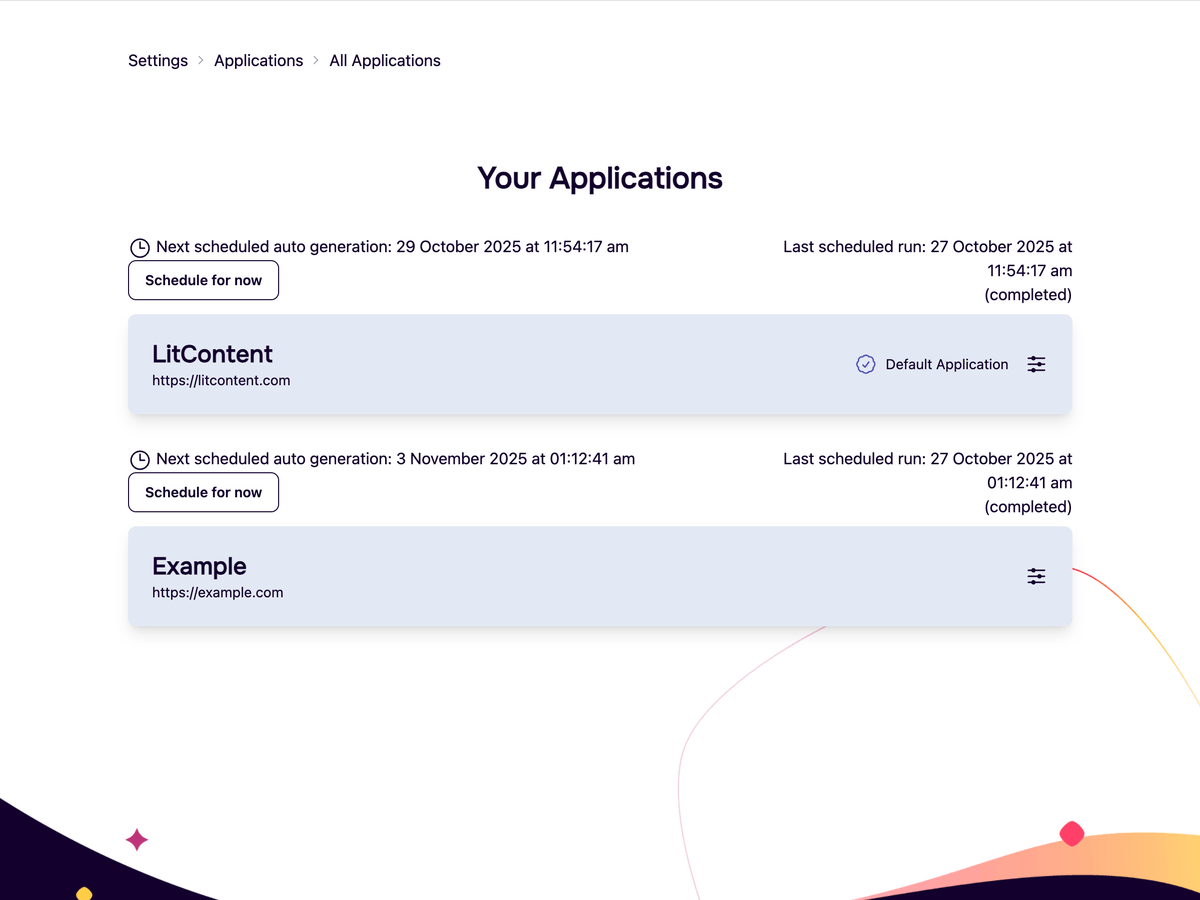
Managing Your Applications
Learn how to view, edit, and manage your applications.
- From the applications dashboard, click on 'View/edit' applications.
- You should now see all your created applications in a list. (If you are part of a team, you will not those applications in this list)
- Edit the details of an existing application.
- Delete an application you no longer need.
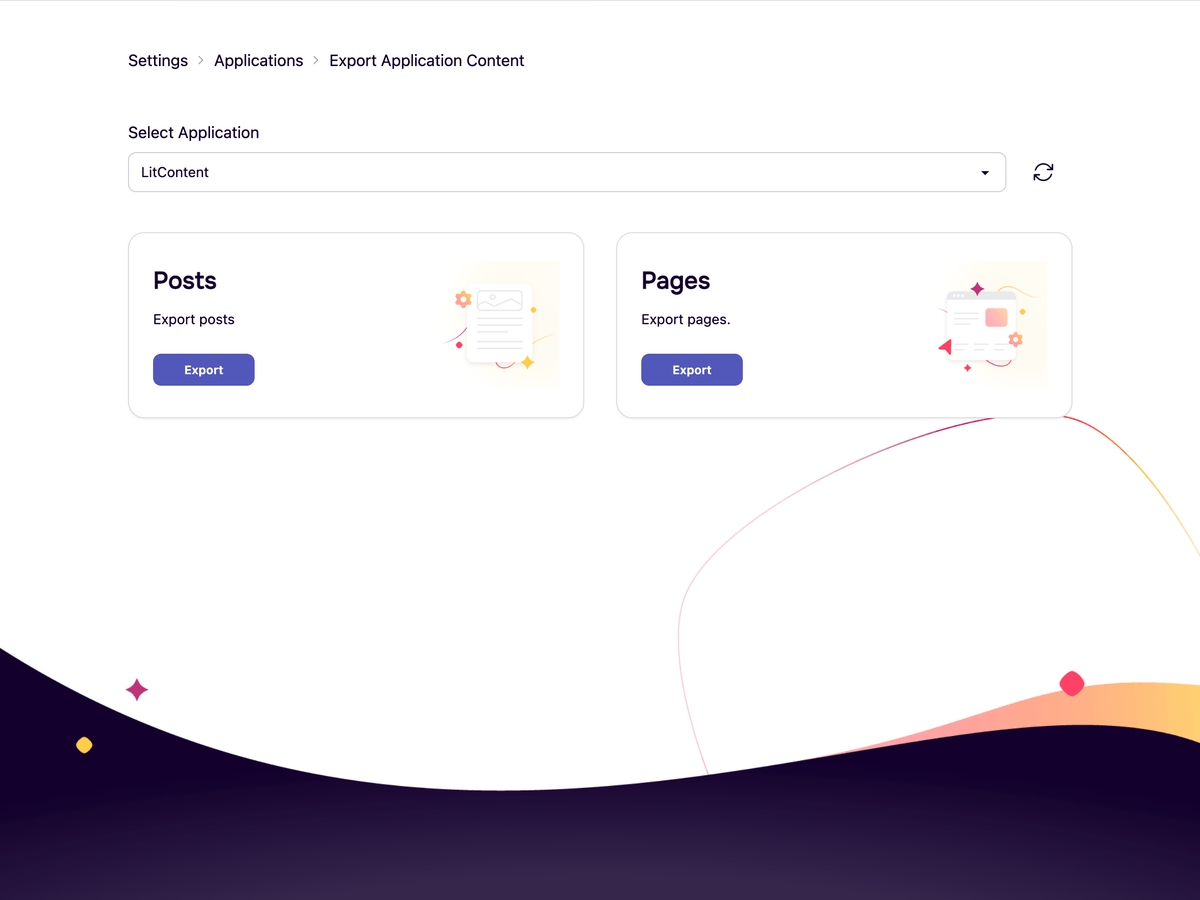
Exporting Your Application Posts and Pages
Learn how to export application content.
- From the applications dashboard, click on 'Export'
- Export posts and pages for an application. Shortly ater clicking on either Posts or Pages, a file containing the exported content should start downloadling automatically.
Optimizing Your Content for SEO
Learn how to use the SEO tool to generate meta descriptions, keywords, and URL slugs.
- From the applications dashboard, click 'SEO'. You can also use these features directly from within our AI editor's feature modal. (Shown in the last few slides)
- Select the application and the post or page you want to optimize.
- Click 'Generate Meta Description' to create a concise summary for search engines.
- Click 'Generate Keywords' to get a list of relevant keywords for your content.
- Click 'Suggest SEO-friendly URL Slug' to create a clean and effective URL.
- To use the SEO features from within an editor, click SEO from within the features modal
- Choose an SEO action from the actions popup.
- After the chosen SEO action finishes generating, a popup will open with the SEO content
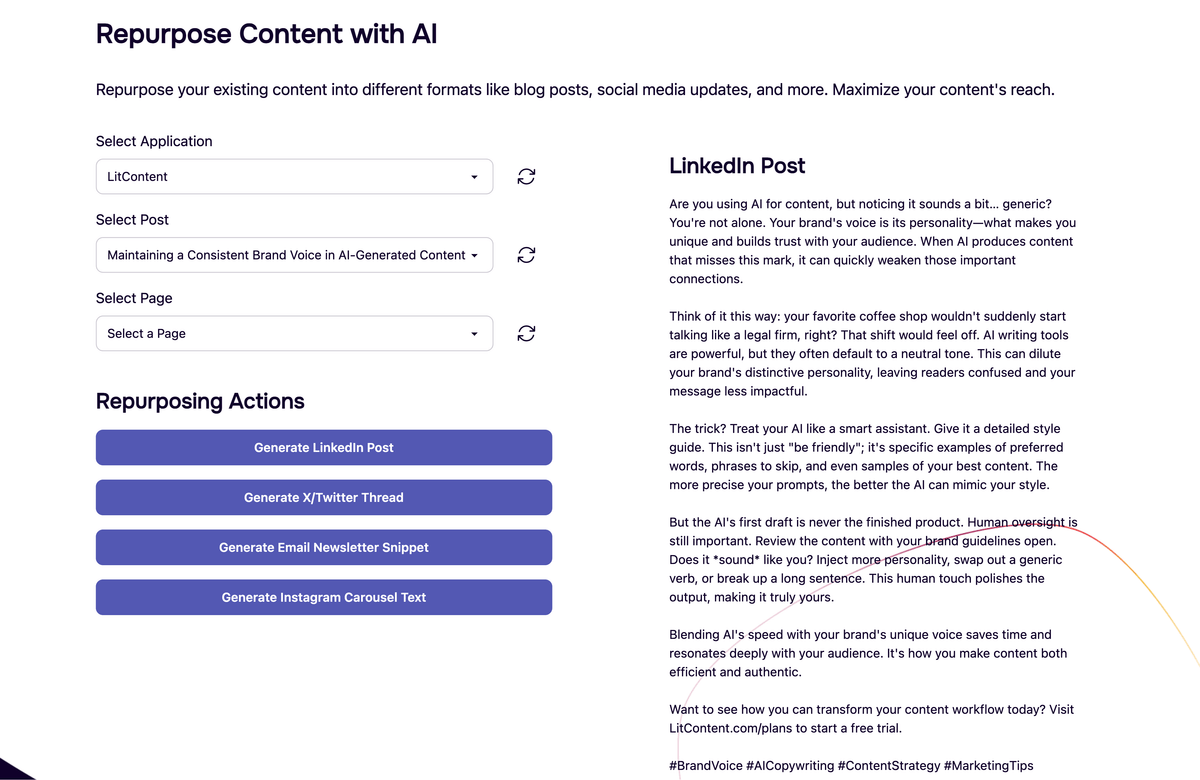
Repurposing Your Content for Social Media
Learn how to turn your blog posts and pages into content for different social media platforms.
- From the applications dashboard, click 'Repurpose'. You can also use these features directly from within our AI editor's feature modal. (Shown in the last few slides)
- Select the application and the post or page you want to repurpose.
- Click 'Generate LinkedIn Post' to create a professional post for your LinkedIn audience.
- Click 'Generate X/Twitter Thread' to create a thread for your X/Twitter followers.
- Click 'Generate Email Newsletter Snippet' to create a snippet for your email subscribers.
- Click 'Generate Instagram Carousel Text' to create engaging text for an Instagram carousel.
- To use the Repurpose features from within an editor, click Repurpose from within the features modal
- Choose a Repurpose action from the actions popup.
- After the chosen Repurpose action finishes generating, a popup will open with the repurposed content